
How to build your house with mud? "The roundhouse" a natural building project at Gaia Ashram
The roundhouse
How to build your Tiny house with mud?
A natural building project at Gaia Ashram an intentional community in Thailand
We spend the last 12 month to create our first natural building using mud bricks and following the tiny house principles. We wanted to prove to ourselves that building a house can be environmental friendly embedding our low-impact lifestyle and does not need to cost a fortune. We actually believe that we created a way of housing that can be regenerative in the long run.
This article and the video show all stages we went through to build our first mud-brick house, following the tiny house principles. It is a reflection on the process and also highlights some of the little details and features. The tiny house was built within 11 months from March 2018 to January 2019 and comes with around 40sqm plus an outdoor kitchen and living area.
If you want to experience and learn more about gardening and permaculture, you might want to join our next 17-day PDC starting in November 2020. Get all the information right here! For the time in between, we highly recommend our Free Online Permaculture & Resilience Course. Start today, no registration needed.
Get yourself registered and be part of the new Permaculture Design Certificate Course in 2020 in Thailand!
Author: Lars Blume

This 6min video gives a great overview about our tiny house and the natural building process.
Status quo: Building a home made of mud.
We started building around a year ago and it is still an ongoing process. There are still a few things to do, for example the walls in the living area are still not finished, a paint as a final layer is missing and would give the room a finished touch.
The house is made of mud bricks, which are air-dried bricks, made of a mixture of clay, sand and rice husk. We made a little peeping window on one outside wall to help people better understanding the building technique that we’ve applied. You can basically look underneath the base coat and also see how the bricks are overlaying to create a strong and stable wall. On top of the bricks is a base coat or scratch coat, which is out of the same material.

An early stage of the Roundhouse front entrance.

Final plaster in the bedroom of our tiny house.
Why we changed the building material from earthbags to mud-bricks?
In our initial design we planned to use earthbags. Earthbags are a natural building technique that we used at Gaia Ashram to build the flushing toilet. Earthbag buildings require only sturdy sacks filled with dirt. We were actually thinking that we could use old rice bags, that are easily available in Thailand and are mainly considered as waste. Thus, we thought about a way to reuse waste and turn it into building material. However, we learned that most of the rice bags once exposed to the sun, are losing their strength, and in the end there weren’t as much bags available as we thought. In order to build a structure, we would have had to buy the bags needed for the building which would have created a future waste issue. As we wanted to make the house as natural as possible we switched to earth-bricks. Luckily all the mud bricks have been produced just shortly before we arrived so it did not take any of our time and energy to make the 3,000 mudbricks we have been used in the building.
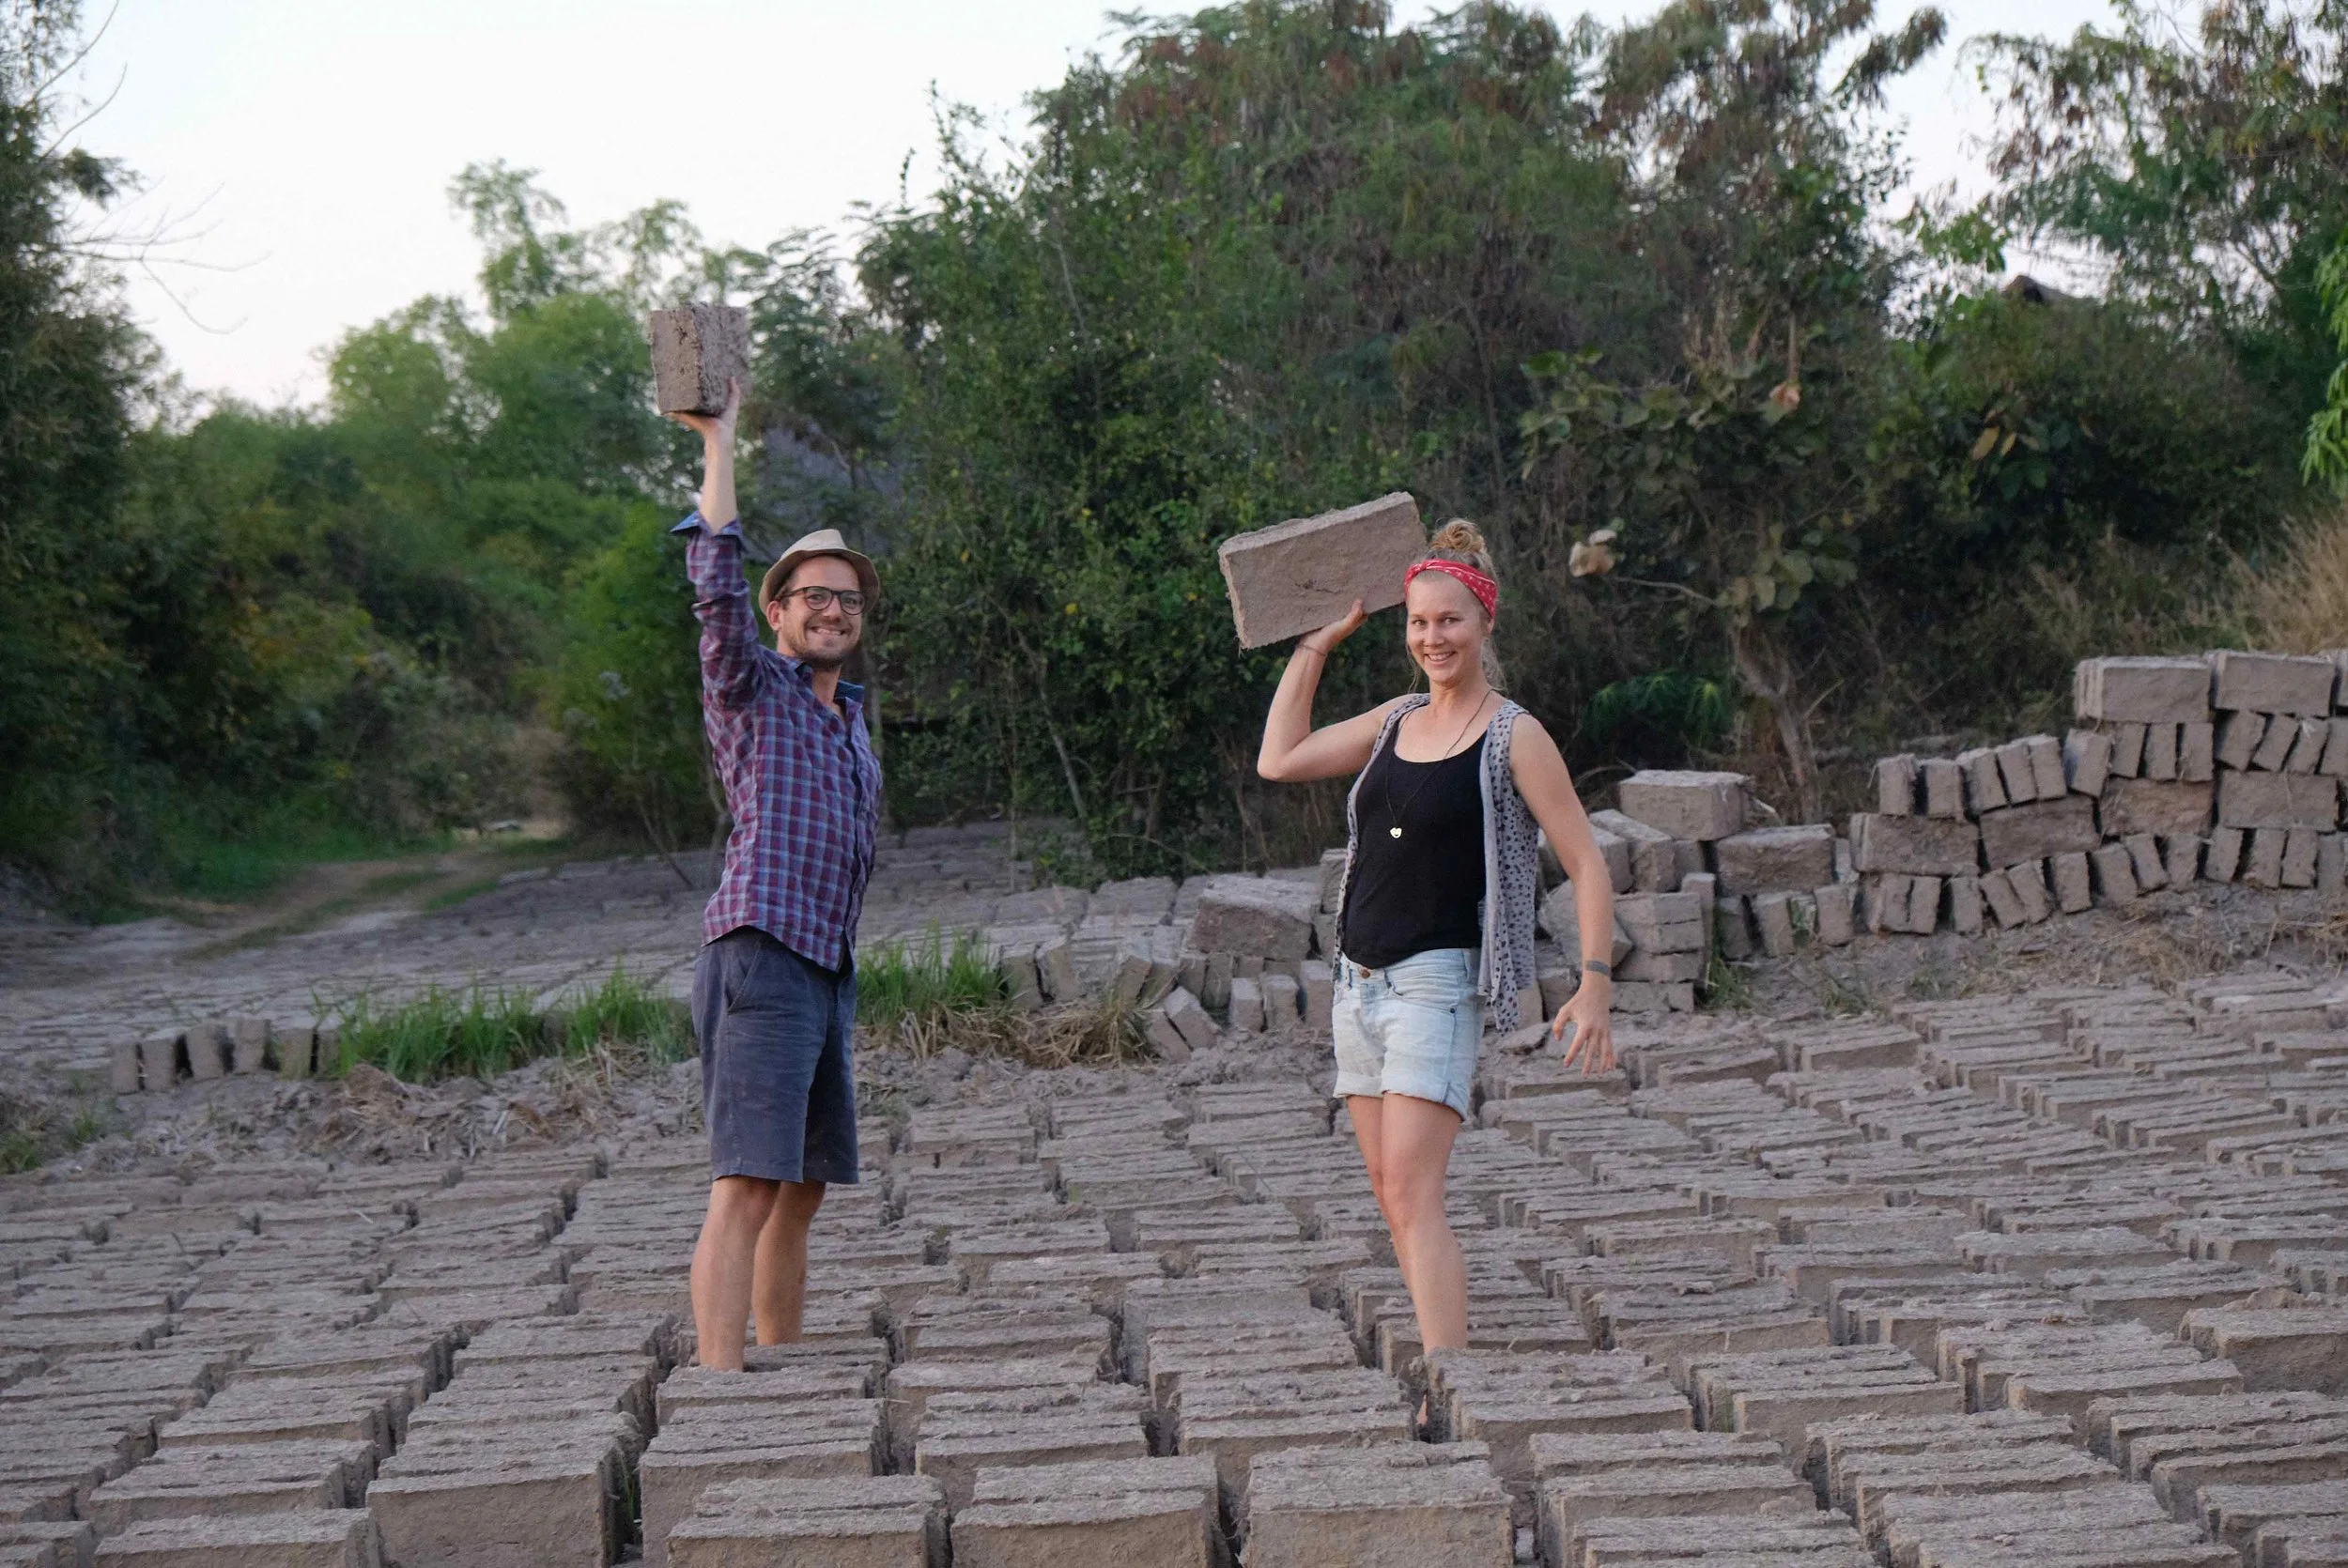
Mud-bricks are made out of clay, sand and fiber.

Linking nature with the kitchen and the living area.
One tiny house with three different areas
The entire house has three different parts. The inner circle, around 16 square meters, is the entrance, living and working area. The second layer is not a full circle but has another 16 square meters. This area gives space for the bathroom and the bedroom and has a accessible rooftop for yoga practice and morning mediations.
The third part is the shaded outside living area. We actually put a lot of attention towards this outside area. We wanted to minimize the time being in a house and living closer and embedded in the surrounding nature. Not only in the tropics, but especially in warm temperate zones it is very nice to spend most of the day outside, in a nice shaded area. To ensure the sun protection but also to reduce the amount of rain water that hits the mud walls and have a dry place in rainy season, we installed a long overhanging roof. This gives us enough space to place our kitchen, chill-out areas, plant nursery and working area outside which is accessible during hot and rainy season. In the initial planning we just wanted to be inside for sleeping. This is also the reason why the indoor living area is still very open and airy. We included a lot of windows and doors and even a huge sitting window. With all this nice openings, you get the feeling that you are in nature even though you are inside.
While designing the openings regarding to the prevailing wind direction we also have a lot of air circulation happening. This helps to control moisture and temperature. To keep the connection with nature we decided to not use glass windows that blog the sounds, temperature or moisture. Only in the bedroom we integrated some wooden shutters that we can close in order to create some darkness and extra privacy.

A sitting wall indicates the end of the living space and the start of the sourounding nature.

Reusing mud-bricks is very easy and makes it even more sustainable.
The design process. How ot work with rather than against nature?
The entire design process was quite interesting. Our first design of the tiny house happened during our stay in Bali, not on site. We actually haven’t been to the exact place of our house before starting to design. Tom and Om sent us a potential place and we started to design based on our intuition and needs we wanted to have accomplished with our first house. Once we came here and sat with the land, we had to change a few details to save the surrounding trees. Building a shelter for us without destroying habitat and moving trees was very important for us.
We didn't want to destroy the existing nature, we wanted to integrate the house into the existing framework and therefore we had to change the design. As a side benefit, we have lots of trees very close to our structure as we squeezed the house into the trees. For us a great example of how important it is to interact with your surroundings. And now we're already getting some nice shade as a return. The place is already partly protected by the trees and that helped a lot throughout the dry season.

Living close to nature and the sourounding garden beds.

Working with wood, mud and other natural materials feels so good.
A Tiny house follwing the 12 permacultue design principles
When we recapped our design process we figured out that we actually used nearly all of the 12 permaculture design principles. The one we learned most about because we kind of forgot to embrace it is to “Obtain a yield”. This is a strong and important one, especially if you build a house. We had to work for almost ten month before we have been able to obtain our first yield of having shelter and actually living in the structure. This is a big lesson learned for next time; to create something you can move in earlier. As we had a little motivation dip in between, we have been slower and spend most of the time in the garden which, of course. was also fun but slowed us down a little.
The natural building process
Like in every house, we started with the foundation. This took quite a while, because we used some reclaimed material that we gathered from construction sites in the nearby village where people would break down houses and just leave all the trash behind. We picked up all this rubble and concrete blocks and brought it here to be able to use as less new concrete as possible. It took us around four weeks to finish the foundation. After that, we started to lay the bricks which actually was quite fast.
We started in March 2018 and we were able to move into the first room in November. In total it took us nearly 12 months to finish the house and we are still getting the last bits done. In between we stopped for several months. The start of the rainy season, motivation gaps and also some unexpected delays opened up the opportunity to focus on the garden earlier than expected. The rainy season slowed us down a lot as you cannot do any plastering during the rainy season, as it just takes too long to dry and the plaster would start molding. As rainy season is garden time anyway, we decided to slow down and focus on the garden around. And that is also the reason why now after a year we have a pretty well-established garden around the house already. Once we started building again, we used the garden as our source of motivation, whenever we were tired of building or stuck in the process, we went into the garden to get some extra energy and then come back building.

The tiny house is made of natural materials and it feels like part of nature.
Reflecting the building process and timing
Looking back, we planned to finish the house it in three months, what was a little bit too optimistic and ambitioned. However, if you really keep on going and have all materials in place and finish before rainy season you can achieve it in three to four months for sure. The whole structure took us around 5 weeks. In this time we build up all the walls and the main structure. Mostly it was the two of us and volunteers from all over the world. Every day we had a few people joining for a couple of hours and then we had our time to just manage and organise what happened, to be ready for the next time. It gives a great feeling to know how many hands, how many people put their energy and love into our house. This really makes it a special place of connection an one can feel all the energy that is inside the walls.
Want to learn more?
Join our upcoming Permaculture Design Certificate (PDC) Course in Thailand at Gaia Ashram. It will start on March 23 and continues till April 10. You can find more information here or just drop us a message; we’re happy to hear from you.
Drop us a mail for further information if you:
need support with your building or design project
want to experience a design process or natural building project
want to invite us to your property and become the host for the next workshop.
want to join one of our next courses.
Just drop us a mail for further information.
The permaculture principles are not only reminding us how to design lands and communities but also how to react to change and make decisions. We had to postpone our PDC because of COVID-19. However, we will start with a 3-hour permaculture session each afternoon following the topics, knowledge, and structure that would be part of a normal Permaculture Design Course. In addition, we will put our main focus on building abundance/resilience in terms of food production, plant medicine, and social permaculture. We also make it available for everybody in social isolation and start sharing the essence of our daily session with the global community and likeminded friends. Join us on this learning journey starting this Friday, April 3!